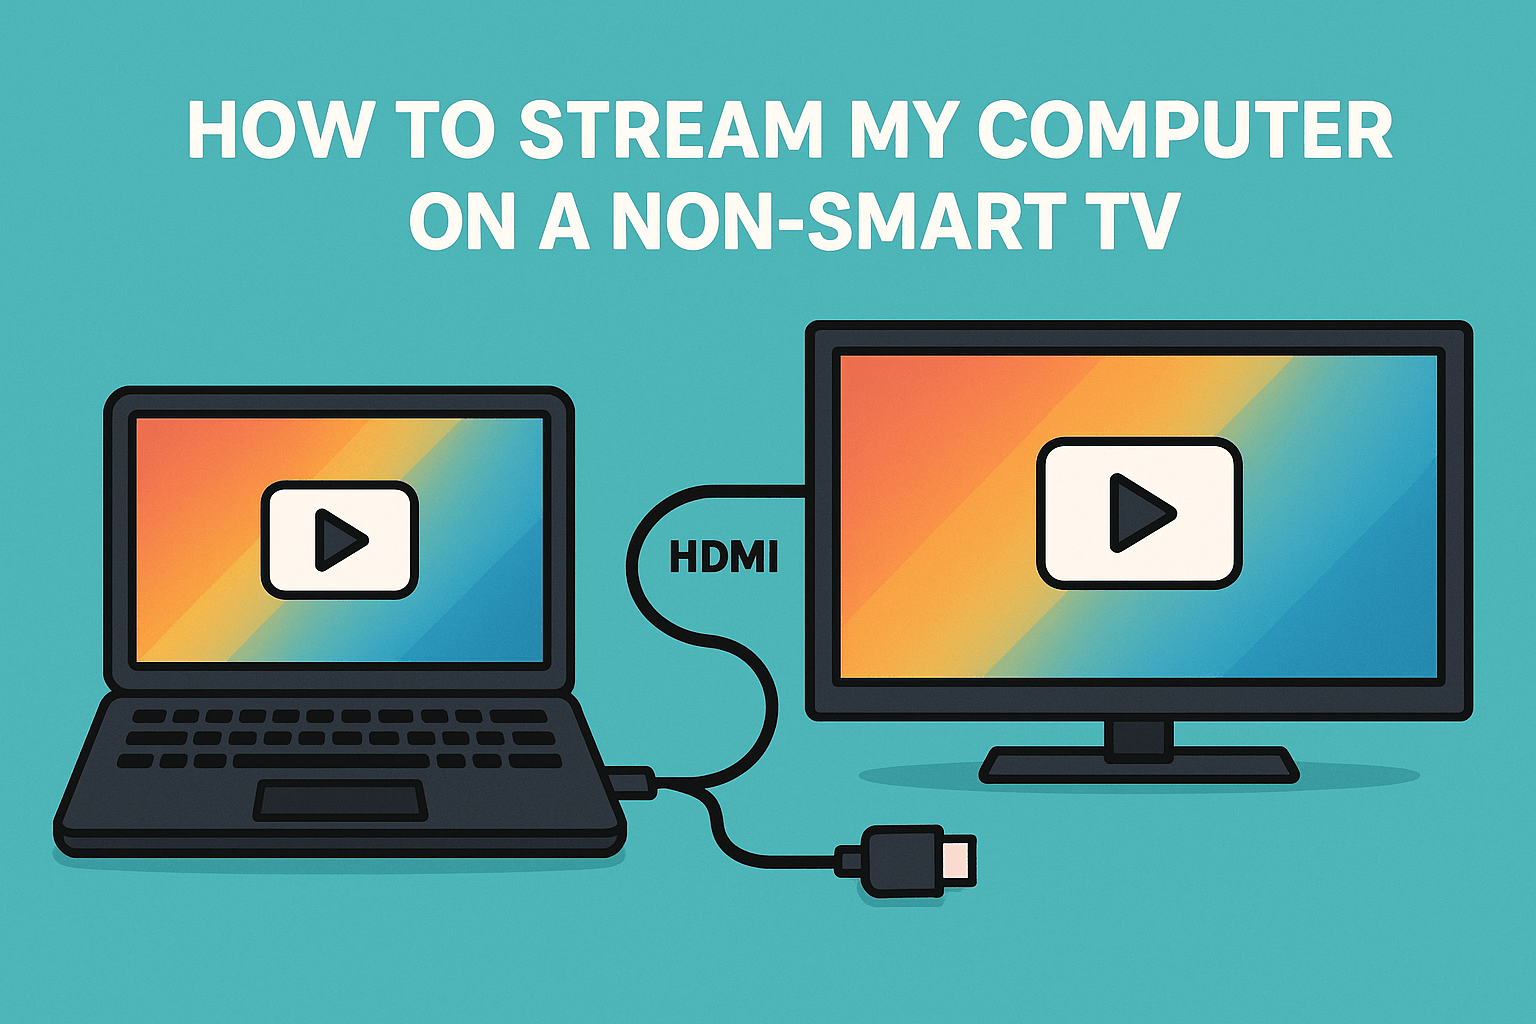
Streaming your computer to a non-smart TV can seem daunting. But it’s easier than you might think.
With the right tools, you can enjoy your computer’s content on a bigger screen.
Whether you want to watch movies, play games, or share photos, there are several methods to explore.
From using an HDMI cable to wireless options like Chromecast, each method has its benefits.
This guide will walk you through the steps to stream your computer to a non-smart TV.
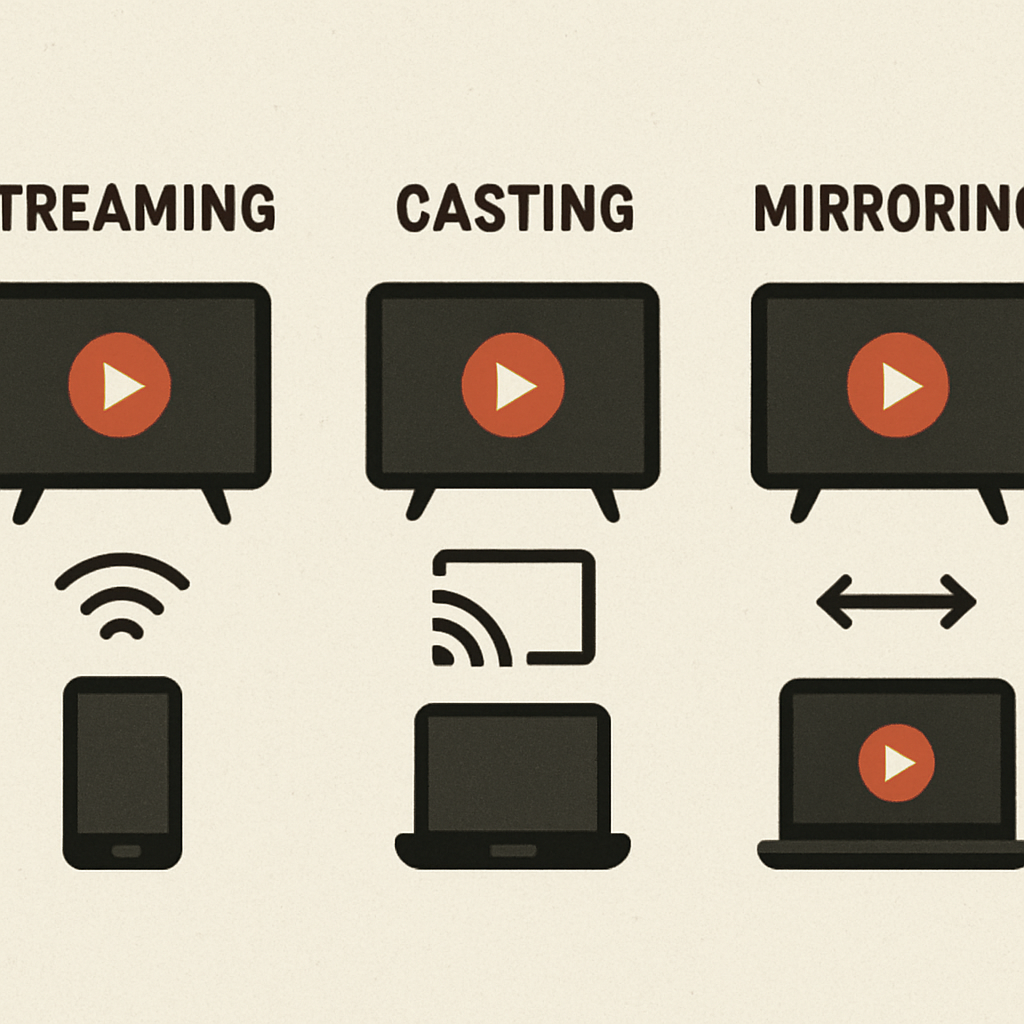
Understanding the Basics: Streaming vs. Casting vs. Mirroring
Before you start, it’s important to understand key terms. Streaming, casting, and mirroring are often confused. Each serves a unique purpose.
Streaming allows content to play continuously from a source. This is handy for movies or shows from your computer. It keeps the content flowing with few hiccups.
Casting sends specific content from a device to a display. Apps like YouTube support casting well. Your TV needs to support casting functions for this to work.
Mirroring duplicates your device’s screen onto your TV. It’s great for sharing presentations or real-time interactions. Mirroring might display everything, including notifications.
Here’s a quick comparison:
- Streaming: Continuous playback from a source.
- Casting: Play specific content on another screen.
- Mirroring: Duplicate your full screen on a display.
Understanding these terms can help you choose the right method for your needs.
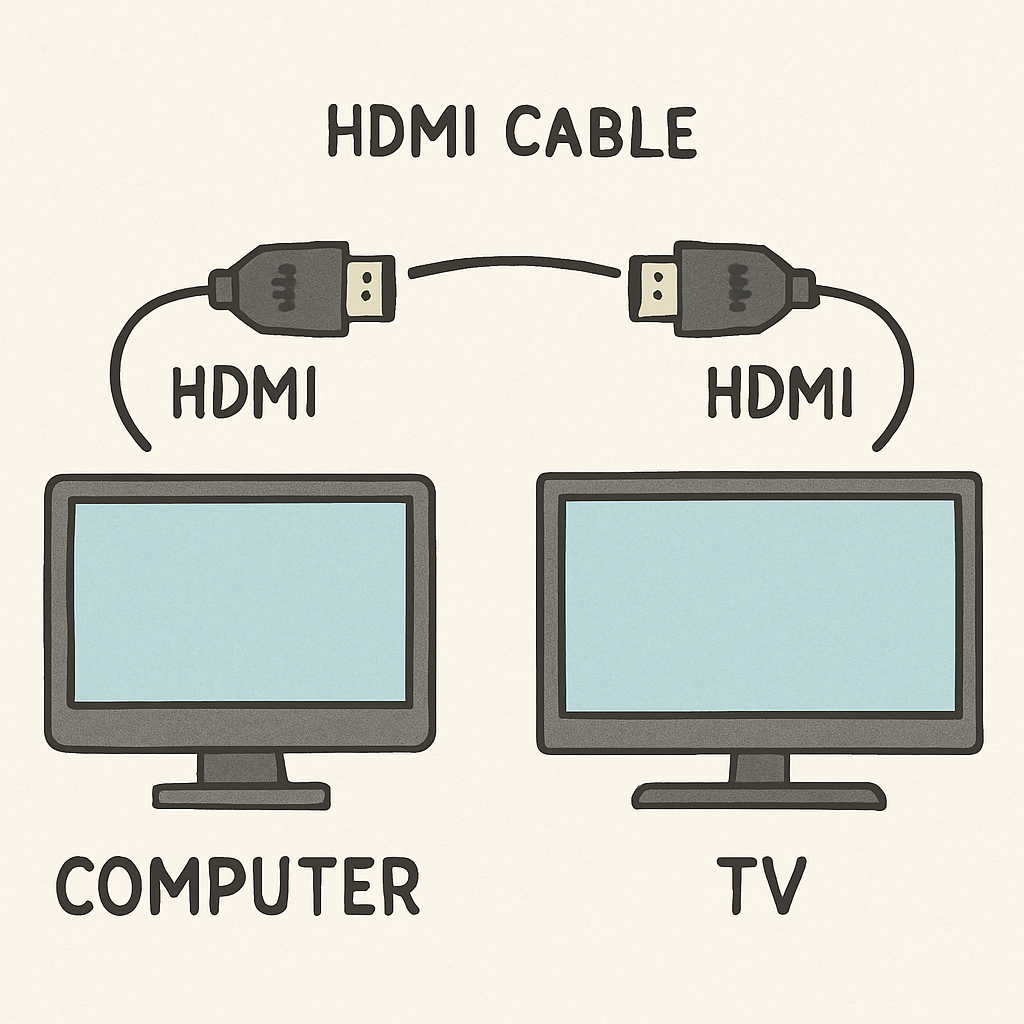
Method 1: Using an HDMI Cable (Wired Connection)
Connecting a computer to a non-smart TV with an HDMI cable is simple. This method offers a direct link from your computer to the TV. It’s one of the most reliable ways to stream your content.
Begin by locating the HDMI ports. Your computer and TV should have these. If available, HDMI is a straightforward solution for high-quality video and audio.
Once you have an HDMI cable, plug one end into your computer. The other end goes into the TV. Both devices will detect the connection automatically.
Next, switch your TV’s input to the correct HDMI port. Use your TV remote to navigate the input options.
Your computer should mirror its display onto the TV. If it doesn’t, check your settings. On your computer, ensure it is set to project the display.
Benefits of using an HDMI cable include:
- High-quality signal transmission
- No network dependency
- Minimal setup complexity
This method requires no internet or additional equipment. It’s perfect for high-definition displays.

Method 2: Wireless Display Adapters (Chromecast, Miracast, and More)
Wireless display adapters offer a cable-free way to stream content. These devices include Chromecast, Miracast, and others. They are ideal if you want flexibility and fewer wires.
Understanding Wireless Adapters
Wireless display adapters connect your computer and TV over Wi-Fi. They eliminate the need for physical cables. This method can be more convenient in rooms where cables could clutter.
Using Chromecast
Chromecast plugs into your TV’s HDMI port. It uses your home Wi-Fi network to stream content. You’ll need to set it up using the Google Home app on your smartphone or computer.
To cast to your TV, open a supported app or browser. Select the content you wish to stream, and choose the cast icon. Your computer streams the media directly to the TV via Chromecast.
Leveraging Miracast
Miracast is another wireless option that works like a wireless HDMI cable. It mirrors your computer screen to the TV. Your computer must support Miracast for this method to work.
Many new computers and Windows 10 systems come with Miracast support built-in. Simply go to your display settings and choose to connect to a wireless display.
Advantages of Using Wireless Adapters
Wireless adapters are quite versatile. They support various devices beyond just computers, such as smartphones and tablets. Here are some benefits:
- No physical cables required
- Easy multi-device compatibility
- Simple to connect and disconnect
Ensure both devices remain on the same Wi-Fi network. This is crucial for smooth streaming performance.


Method 3: Streaming Devices (Roku, Fire Stick, and Others)
Streaming devices like Roku and Amazon Fire Stick offer another way to stream. These devices make your non-smart TV smarter by allowing streaming from your computer or online services.
How Streaming Devices Work
These devices connect via HDMI ports. They access content from the internet or other networked devices. Each streaming device has a unique interface and set-up process.
Using Roku and Fire Stick
Both Roku and Fire Stick require an internet connection. They come with remotes and are easy to navigate. Once connected, you can install apps to enable streaming from various services.
Setting Up Streaming Devices
Installation involves plugging the device into an HDMI port. Connect it to Wi-Fi and follow on-screen instructions. Many devices support casting directly from your computer.
Benefits of Using Streaming Devices
Streaming devices provide a user-friendly interface. Here are a few benefits to consider:
- Improves TV functionality
- Access to multiple streaming services
- Option to cast local content from your computer
Choose a device that supports the services you use most. Ensuring compatibility can enhance your streaming experience.

Method 4: DLNA and Media Server Software (Plex, VLC, etc.)
DLNA, or Digital Living Network Alliance, is a protocol. It allows media sharing across different devices over a home network. This method can let your non-smart TV access video, music, and photos from your computer.
Setting Up DLNA
To use DLNA, both your computer and TV need to be DLNA-certified. You might need to enable media sharing on your computer in the network settings.
Using Media Server Software
Software like Plex and VLC simplifies streaming to your TV. These programs organize your media and make it easy to stream. They also support transcoding, ensuring compatibility with most file formats.
Steps for Media Server Streaming
Download and install a media server program. Configure it to share files with your TV. Navigate through your TV’s media player to access the shared files.
Advantages of Media Server Software
- Easy file access without physical connections
- Supports a variety of media formats
- Control over what is shared and viewed
DLNA and media server software provide flexible streaming solutions. They are ideal if you want to enjoy personal media collections on your TV.

Method 5: USB and Alternative Wired Options
Using a USB connection can be a straightforward way to stream to a non-smart TV. This method typically involves using a USB drive to carry media files. You can plug the USB drive directly into your TV’s USB port if available.
Direct USB Connection
Transfer videos, music, or images to a USB stick. Insert it into the USB port on your TV and access the media via your TV’s media player. This method is great for static content.
Alternative Wired Options
For those without a USB option, alternatives like VGA or composite cables can be used. These may require additional audio connections for sound.
Benefits of USB and Wired Connections
- No internet connection needed
- Simple setup with minimal equipment
- Reliable with consistent media playback

Step-by-Step Guide: How to Set Up Each Method
Getting started with streaming can seem daunting. However, simple steps simplify each method. Here’s how to set up each option.
HDMI Cable Setup
- Connect one end of the HDMI cable to your computer.
- Attach the other end to your TV’s HDMI port.
- Select the correct HDMI input on your TV.
Wireless Display Adapter Setup
- Plug in your Chromecast or Miracast into the TV.
- Ensure your devices are on the same Wi-Fi network.
- Use the casting option on your computer to connect.
Media Streaming Device Setup
- Connect the streaming device to your TV.
- Follow on-screen instructions for initial setup.
- Use casting apps to stream from your computer.
DLNA and Media Server Software Setup
- Install Plex or VLC on your computer.
- Configure your media library in the software.
- Access the server from your TV using its media player.
USB Connection Setup
- Transfer files to a USB stick.
- Insert USB into the TV’s USB port.
- Use the TV’s media function to view files.

Tips to Facilitate Setup
- Ensure compatibility: Always check if devices are compatible.
- Consult manuals: Refer to device manuals for detailed guidance.
Visualizing the Setup
Understanding these setups visually can aid comprehension. They ensure a smooth and successful streaming experience.

Troubleshooting Common Streaming Issues
Encountering issues while streaming can be frustrating. However, most problems have easy solutions. Here’s how to handle common challenges.
Connection Problems
If your devices aren’t connecting, ensure they share the same Wi-Fi network. A mismatch can prevent successful streaming.
Lag and Buffering
Lag disrupts viewing pleasure. Check your network speed. Slower connections often cause interruptions.
Audio/Video Sync Issues
Ensure your computer’s drivers are updated. Outdated drivers often result in synchronization problems.
Quick Troubleshooting Tips
- Restart Devices: Power cycling can resolve minor glitches.
- Check Cables: Ensure all wired connections are secure.
- Update Software: Current software supports better streaming.

By addressing these issues, enjoy a smoother streaming experience. Regular maintenance minimizes common problems.
Tips for the Best Streaming Experience
For optimal streaming, consider a few key tips. Ensuring a smooth flow enhances your viewing experience.
Optimize Your Setup
Proper setup is crucial. Position your devices for a clear signal, especially with wireless streaming.
Enhance Viewing Quality
Adjust settings on your TV and computer for crisp pictures. Higher resolutions look better on larger screens.
Essential Tips:
- Regularly update all software
- Use high-quality HDMI cables
- Ensure consistent internet speeds
By following these tips, you can enjoy seamless streaming. Experiment with different settings to find what works best for you.
Frequently Asked Questions (FAQ)
How can I connect my computer to a non-smart TV?
Several methods exist, including HDMI cables and wireless adapters. Each has unique benefits.
Is wireless streaming better than wired?
Wireless offers flexibility, but wired connections are more stable. It depends on your needs and setup.
Do I need special software for streaming?
Certain apps can enhance your experience. Plex and VLC are popular choices for media streaming.
What if my TV doesn’t have an HDMI port?
Consider using adapters or alternative connections like RCA cables with converters.
Can streaming affect my internet data usage?
Yes, it can. Streaming uses bandwidth, so monitor your data if you have a cap.
How do I ensure my devices stay updated?
Regularly check for software updates and enable automatic updates where possible.
Conclusion: Choosing the Best Method for You
Determining the best way to stream your computer to a non-smart TV depends on individual needs. Consider factors like budget, device compatibility, and desired ease of use.
Wired connections offer stable performance, while wireless options provide more flexibility. Evaluate the trade-offs between these methods to find your best fit.
Explore and experiment with different options. You’ll discover the method that best suits your streaming goals and enhances your viewing experience.

Unlock the full potential of your smart home device. Learn how to connect, automate, and optimize your smart devices for a seamless and convenient lifestyle.