Google Home devices are incredibly useful for managing smart home gadgets, playing music, and answering your queries. These devices serve as a central hub for controlling various smart appliances, providing convenience and enhancing your living space. However, there might come a time when you want to remove a device from your Google Home setup.
Whether you’re upgrading to a new gadget, troubleshooting an issue, or simply decluttering your setup, knowing how to delete an item from Google Home is essential. This guide will walk you through the process step-by-step, ensuring a seamless transition and maintenance of your smart home system.
Understanding how to effectively manage your Google Home setup is crucial for maintaining an efficient smart home environment. As you add more devices to your ecosystem, learning how to organize and remove them as needed can help you avoid clutter and potential technical issues. By following the steps outlined in this guide, you’ll be equipped to manage your devices confidently, ensuring your Google Home setup remains streamlined and functional.
Before diving into the removal process, it’s crucial to understand the role of Google Home settings. The Google Home app is the command center for all your smart devices. It’s where you add, manage, and remove devices. Understanding how these settings work will make the removal process much smoother.
The app provides a userfriendly interface that allows you to oversee your entire smart home setup from one location, making it easier to implement changes and updates as needed.
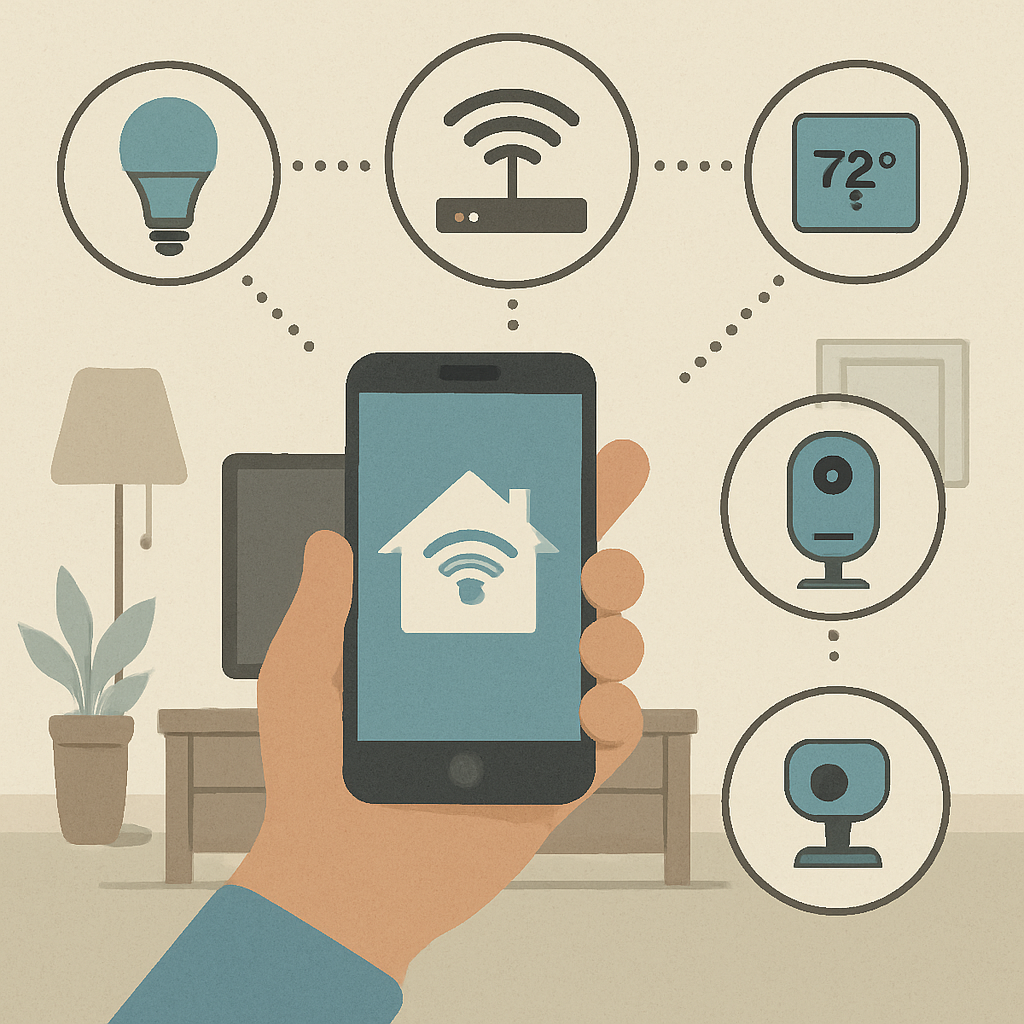
In the Google Home app, you can manage devices such as smart speakers, lights, thermostats, cameras, and more. Each of these devices can be individually controlled and configured through the app, allowing you to tailor your smart home experience to your preferences. It’s important to note that removing a device from the Google Home app does not reset the device itself. It merely disconnects it from your Google Home setup, allowing it to be added to a different setup or used independently.
Knowing which devices can be removed and how they function within your setup is essential for effective management. This knowledge helps you make informed decisions about which devices to keep, remove, or replace, ensuring your smart home setup operates efficiently and effectively.
Removing devices can help improve system performance, reduce network congestion, and increase security. A streamlined setup minimizes the risk of connectivity issues and optimizes the overall functioning of your smart home. Additionally, if you’re experiencing issues with a device, removing and re-adding it can often resolve these problems. This process can refresh the device’s connection and settings, potentially eliminating any glitches or malfunctions.
There are also practical reasons for removing a device, such as when upgrading to newer models or when a device is no longer needed. By periodically reviewing and updating your device list, you can maintain an organized and efficient smart home environment, tailored to your specific needs and preferences.
 Step 1: Open the Google Home App
Begin by opening the Google Home app on your smartphone or tablet. Ensure you’re logged in with the same Google account used to set up your devices. This consistency is crucial for accessing and managing your connected devices, as the app relies on your account to synchronize settings and preferences across all devices.
By using the app, you can control your devices from anywhere, provided you have internet access. This remote access capability is one of the key benefits of the Google Home system, allowing you to manage your smart home setup even when you’re away from home.
Step 2: Navigate to the Device
Once you’re in the app, you’ll see a list of all your connected devices. Scroll through the list to find the device you want to remove. The app’s intuitive design makes it easy to locate devices, with options to sort or group them by room or type for easier navigation.
Organizing your devices within the app can help streamline the process of finding and managing them. By creating logical groupings, you can quickly access the specific device you wish to modify or remove, saving time and effort in the management process.
Step 3: Access Device Settings
Tap on the device you wish to remove. This action will open the device’s specific settings page. Here, you can see various options related to the device’s operation and management. These options may include settings for connectivity, alerts, and more, giving you comprehensive control over each device’s functionality.
Understanding the settings available for each device can empower you to customize your smart home setup to better suit your needs. By familiarizing yourself with these options, you’ll be able to make informed decisions about which settings to adjust or maintain when removing a device.
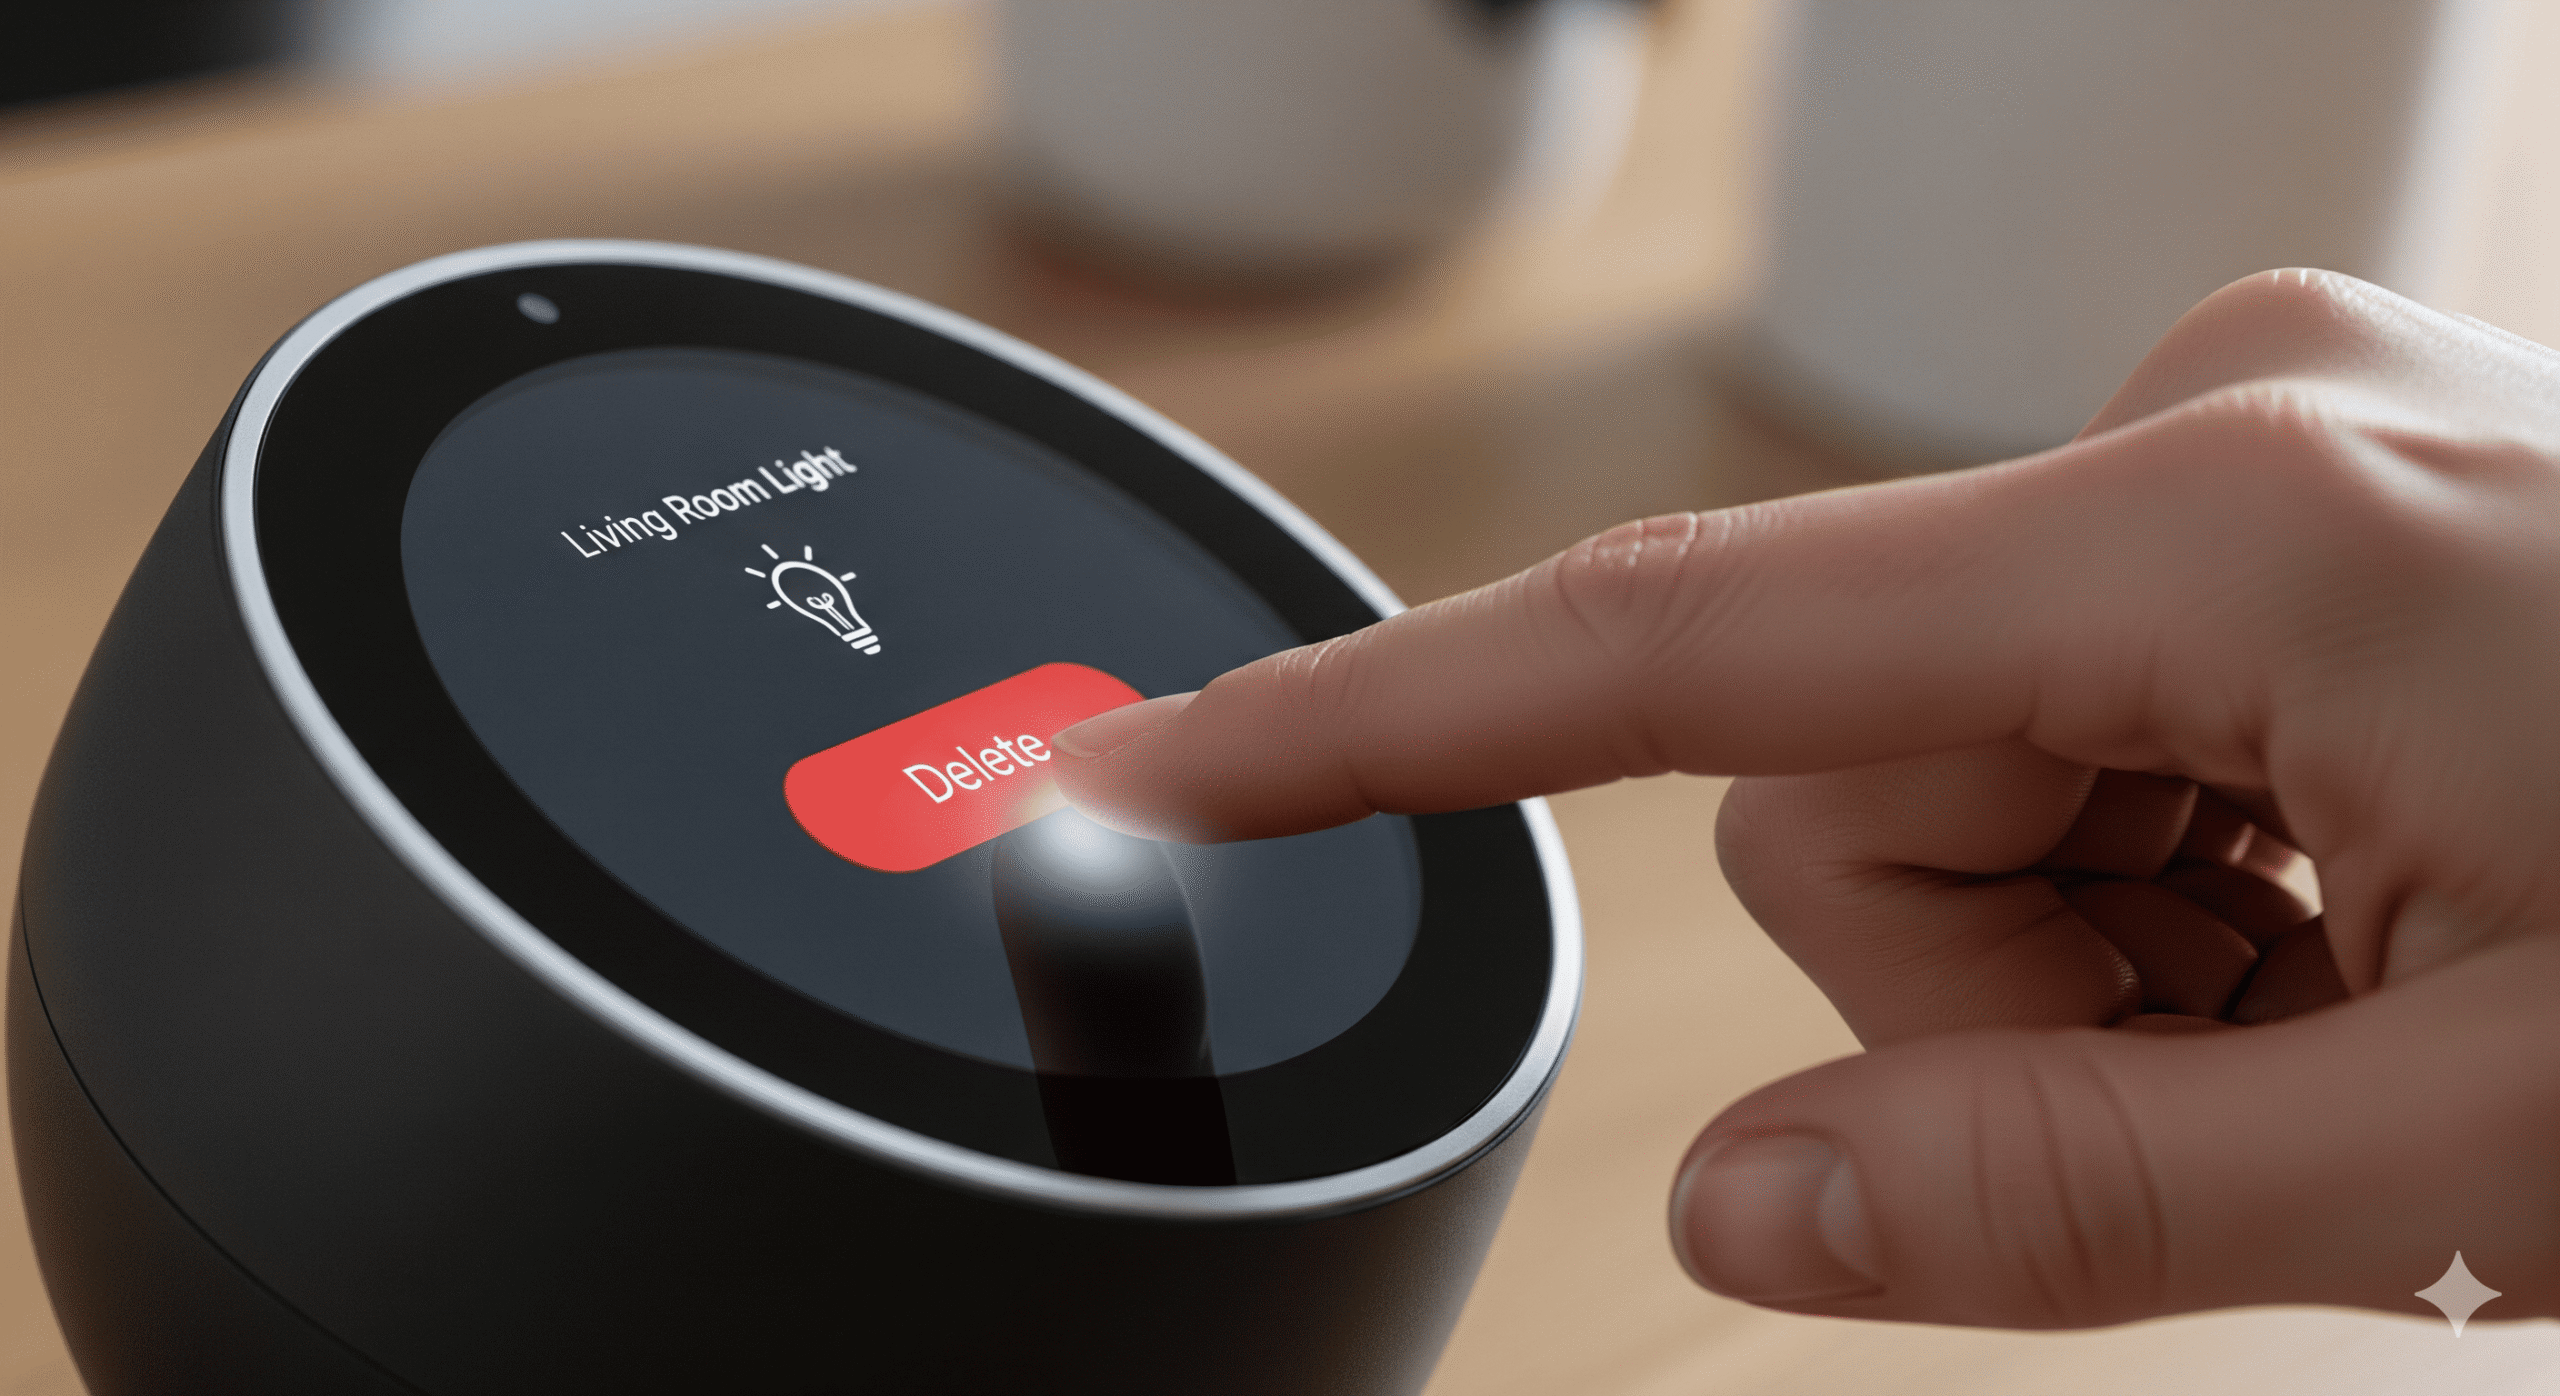
Step 4: Remove the Device
In the device settings, look for the option labeled “Remove Device” or “Unlink Device.” The wording might slightly differ depending on the type of device you’re managing. Tap on this option to initiate the removal process, which typically involves a few simple steps to confirm your intentions.
Removing a device is a straightforward process, but it’s important to ensure you’re selecting the correct device. Double-checking the device name and type can help prevent accidental removals, ensuring your setup remains intact and functional.
Step 5: Confirm Removal
After selecting “Remove Device,” you’ll be prompted to confirm your decision. This step ensures that you don’t accidentally remove a device. Once confirmed, the device will be unlinked from your Google Home setup, freeing it for use in other configurations or setups.
Confirming the removal process is a crucial step in safeguarding your setup against accidental changes. By carefully reviewing your decision at this stage, you can maintain control over your smart home environment and ensure only the intended devices are affected.
Step 6: Physical Reset (If Needed)
While removing a device from the Google Home app disconnects it, you might need to perform a physical reset on the device itself, especially if you’re planning to give it away or sell it. Check the device’s user manual for instructions on how to perform a factory reset. This process ensures that your personal data and settings are cleared from the device, protecting your privacy and preparing the device for its next owner.
Performing a physical reset can also resolve persistent issues that software-based removal cannot address. By resetting the device to its factory settings, you can eliminate any residual configurations or glitches, ensuring the device functions optimally in its new setup.
Troubleshooting Common Issues
Sometimes, removing a device might not go as smoothly as expected. Here are some common issues and how to address them:
Device Not Showing in the App
If you can’t find the device in your Google Home app, ensure that it’s powered on and connected to the same WiFi network as your phone. Restarting the app or your device might also help. Connectivity issues can often be resolved by ensuring all devices are on the same network, as discrepancies can cause devices to become temporarily invisible.
In cases where the device remains undetectable, checking for firmware updates or performing a manual reset can restore functionality. These steps help ensure your devices are properly integrated into your smart home setup, maintaining seamless connectivity and control.
Removal Option Not Available
In certain cases, the “Remove Device” option might not be visible. This issue can occur due to app glitches or outdated software. Make sure your Google Home app is updated to the latest version. Regular updates often include bug fixes and new features that enhance app functionality and device management.
If the problem persists, consider uninstalling and reinstalling the app, or contacting Google support for assistance. These steps can help resolve persistent issues, ensuring you have full access to all device management options.
Unable to Re-add the Device
If you’re having trouble readding a device after removal, try resetting the device physically and ensure your phone is connected to the same Wi-Fi network. A physical reset can clear any lingering settings that might be interfering with the re-adding process, allowing the device to reconnect smoothly.
Additionally, double check that the device is compatible with your current setup and that no network restrictions are preventing reconnection. These precautions can help ensure the successful reintegration of your device into your smart home environment.
Best Practices for Managing Google Home Devices
 Regularly Update Your Devices
Keeping your devices updated ensures they run smoothly and securely. Check for firmware updates regularly and install them as needed. Firmware updates often include patches for security vulnerabilities and enhancements that improve device performance and reliability.
By staying proactive with updates, you can prevent potential issues before they arise, ensuring your smart home setup remains efficient and secure. Regular maintenance of your devices is key to preserving their longevity and effectiveness.
Secure Your Network
Ensure your WiFi network is secure with a strong password. This measure protects your smart home devices from unauthorized access. A secure network serves as the first line of defense against potential breaches, safeguarding your personal data and device settings.
In addition to strong passwords, consider using network security features like firewalls and guest networks to further enhance protection. These measures can provide additional layers of security, ensuring your smart home environment remains safe and secure.
Organize Your Devices
Organizing your devices within the app can streamline management. Group devices by room or function for easier control. This organization not only simplifies navigation but also enhances your ability to manage and control devices more effectively.
Creating logical groupings allows for quicker access and adjustments, making it easier to tailor your smart home setup to your needs. By maintaining an organized approach, you can optimize device functionality and streamline your management processes.
Backup Your Settings
Consider backing up your Google Home settings, especially if you have a complex setup. This backup can save time if you need to reset your system. Having a backup ensures you can quickly restore your preferred configurations, minimizing downtime and inconvenience.
Regularly updating your backup also ensures it reflects the most current state of your setup, providing an accurate and reliable resource in case of unexpected changes or issues. By prioritizing backups, you can safeguard your smart home environment against potential disruptions.
Conclusion
Removing a device from Google Home is a straightforward process, but it’s essential to follow each step carefully to avoid issues. Whether you’re troubleshooting, upgrading, or just decluttering, managing your Google Home settings effectively will enhance your smart home experience. By understanding how to navigate the Google Home app and handle common issues, you can ensure your setup remains efficient and secure.
Remember, while the Google Home app is powerful, it’s only as effective as the way you manage it. Regularly reviewing and updating your device list will help maintain an optimized smart home environment. Happy managing! By staying informed and proactive in managing your devices, you can enjoy the full benefits of a well-organized and efficient smart home setup.

Unlock the full potential of your smart home device. Learn how to connect, automate, and optimize your smart devices for a seamless and convenient lifestyle.